Not only are these inexpensive but they are a real gift from the heart. Also, they don't collect dust, need batteries, make noise or need maintenance (apart from a little water now and then ;D)

Mine are filled with delicious strawberries :) I can move the pots to the best position, they drain well and the fruits will tumble down the side without rotting
Materials:
- Clean, empty tins or plastic drink bottles (mine are baby formula containers and 3L juice bottles)
- Garden wire
- Spray primer
- Paint (I used sample pots of wall paint)
- Paintbrush
- Drill
- Craft knife
- Sandpaper
- Potting mix/garden soil/compost
- Seedlings
- Turn your containers upside down and drill some drainage holes in the bottoms
- Bottle planters - cut out a hole for the plant to go into (towards the top of the bottle), it needs to be just big enough to squish in the root ball of the plant. If needed, sand the holes to remove sharp bits
- Can planters - drill two holes at the top of the can opposite each other to thread a hanging wire through. Sand the holes lightly to keep sharp bits at bay
- Roughly sand your containers to give the paint something to stick to. It's important to note that the shiny paint finish on formula containers will repel the paint if not sanded. It doesn't have to be perfect, just rough up the paint or plastic a bit
- Prime your containers with the spray primer. Allow to dry (it won't take long!)
- Paint your containers and decorate as you wish. You will need a couple of coats for good coverage. Allow to dry well
- Snip and attach a length of garden wire to use as a hanging loop. The length will depend on whether you wish to hang your pots from a fence, tree branch or ceiling hook)
- Bottle planters - lay your bottle down and fill with soil through the cutout. Scoop out just enough soil to fit the root ball of your seedling and carefully but firmly pack the plant in. You can keep the bottle laying down for a couple of weeks until the plant is established but I carefully propped mine up immediately
- Can planters - fill with soil, leaving enough space to put your plant. Carefully pack in the roots of the plant and top up with a little more soil
- Give them a drink and put them in a suitable spot to get established until it's time to give them away!
- Raise your own seedlings from seed and this project may well only cost you a couple of dollars
- To give as gifts, choose a pretty annual flower. That way, at the end of the growing season your recipient can either re-plant or recycle their pot. No waste and no clutter! Perfect for the person who has everything
- If you want a no-hassle gift plant your pots with succulents
- For a kitchen goddess (or god ;P) plant your pots with herbs
- For kids, plant a yummy treat like strawberries. My strawberries adore these pots since they like good drainage and if you add a hanging wire the strawberries will tumble down without rotting!

Bottle planter materials

Can planter materials

Drill drainage holes and cut out plant hole

Drill drainage holes and hanger holes

Prime and allow to dry. Paint in chosen colours

Hang them up and let them get established
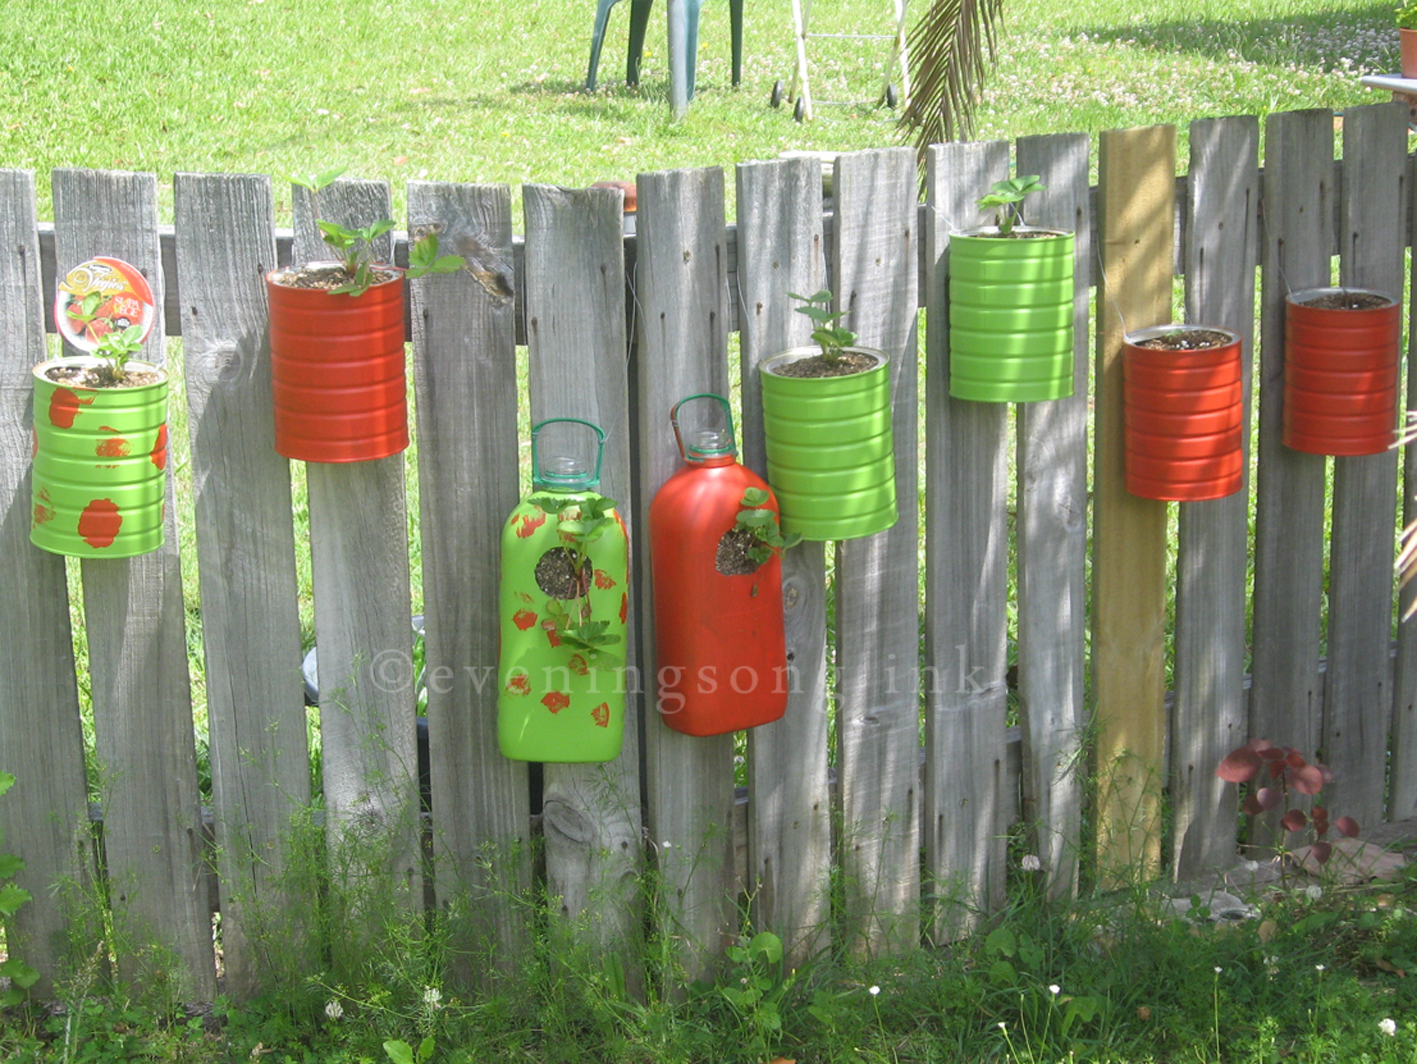
Cheering up your own garden or awaiting a new home :)
No comments:
Post a Comment